Thursday, October 11, 2007

Making Candy Corn; Tips & Tricks!

Please head over to my new blog at TheUrbanHousewife.com, where you'll find this post & more!

As Halloween nears many of you will embark on candy corn making adventures utilizing the recipe I posted. After some feedback from others & a bit of experimenting, I thought I'd extend some tips & tricks so you can successfully make your own candy corn this season!

Boiling temperature & time are very important to this recipe, too much heat & you'll have a rock of hard candy, too low & you'll have a soft candy. If you're right on, the texture of these are perfect.

If your dough is too hard:

  • The boiling temperature and/or time may have been off.
  • You may have added too many dry ingredients.

Unfortunately, I don't have a temperature to tell you to boil them at, but it's important that these boil for 5 minutes at a medium boil with occasional stirring. Sadly, there’s not much you can do with firm dough, besides try to cut it up & eat it as hard candy. It still tastes pretty good.

Be careful not to add too many dry ingredients. Often times, powdered sugar is compacted in its container, be sure to stir it up before measuring it & use a spoon to scoop it in to your measuring cup, versus pouring. These same guidelines apply to the powdered soy milk, as well as dry ingredients in all baking!

If your dough is too soft:

  • The boiling temperature and/or time may have been too low.

You can still make candy corn with soft dough, the color will be easier to knead in & they’ll taste good, but the texture will not be the same. An option with these is to put them in the refrigerator to firm them up, but they’ll have to be eaten cold or shortly after removal from the refrigerator, as they soften as they return to room temperature.

Candy Corn Storage:

To store the candy corn, put them in an airtight container, using plastic wrap to separate the layers, so they don’t stick together. Do not refrigerate or freeze these, as it could change the texture & is unnecessary, keeping them on a counter is ideal. These should keep for quite some time, so feel free to make them in advance for your shindig. Last I checked, my 3-week-old candy corn was perfectly tasty & they’ve been on my counter since being made.

Ingredients + other Tips & Tricks:

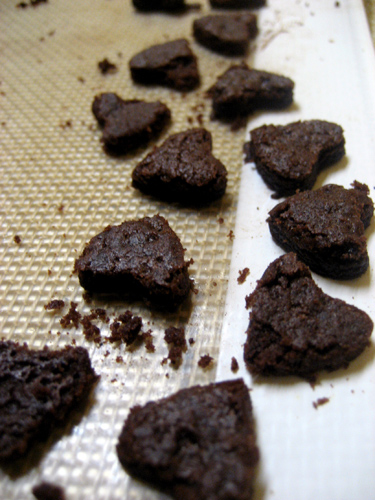
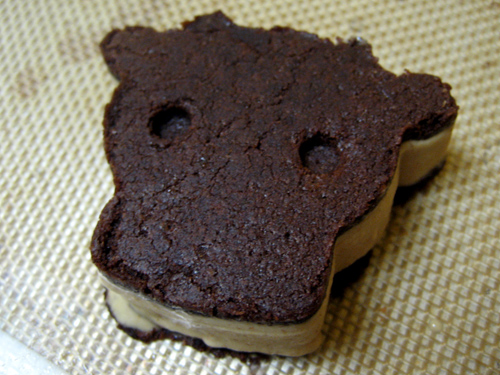
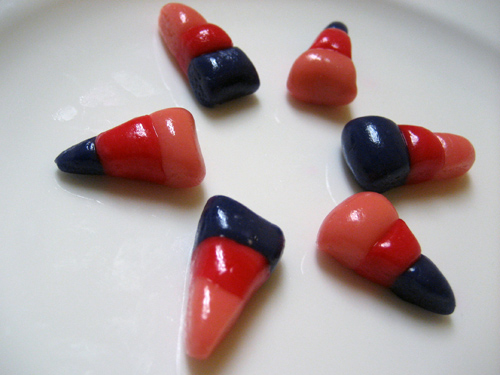
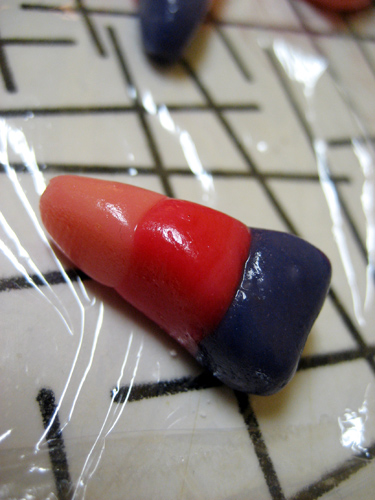
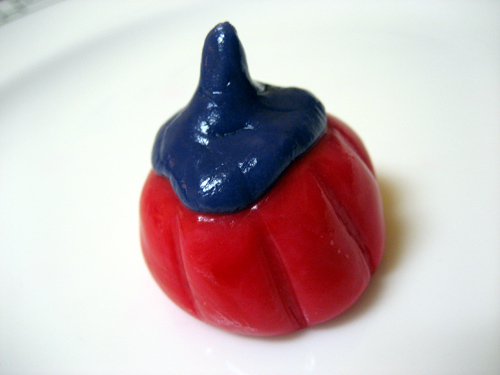
If you have an aversion to corn syrup or cannot find organic corn syrup, these can be made with brown rice syrup, although they will not taste the same. They’re close, but the texture as well as the flavor differs from traditional candy corn. Additionally, the dough will not be white for the white tips, so they may be best as pumpkins or “psychedelic candy rice”, like you see in the photos here. Nonetheless, you may be happy with the results!

My powdered soy milk came from my local co-op & was plain, not vanilla. I do think vanilla would be perfectly acceptable & maybe even a tasty addition! Don’t be concerned about good tasting powdered soy milk, I wouldn’t drink mine either! It’s a texture thing, not a taste thing. The recipe has enough sugar to kill any bad tasting powders anyway! If you can’t find a powdered soy milk product at your local grocer or health food store, Better Than Milk can be purchased online at Amazon.

The recipe provided has a very high yield, especially if you cut them as small as standard candy corn. You can easily make 1/4 of what I’ve posted & be perfectly happy.

When kneading the color in, gloves are the best option. Of course, most of us don’t have gloves! Another option I mentioned in the last post was plastic wrap, but another option is putting the dough & color in a plastic sandwich bag to squish & fold it in there, which may be easier & less likely to cause a food coloring stain somewhere undesirable.

An untested idea mentioned to me is adding the food coloring in to the wet ingredients after the boiling process. While it’s not possible to divide the wet mixture in to three & then add the dry, you could make three small batches & add the color in this way. The kneading is tedious & may be more time consuming than making three small batches!

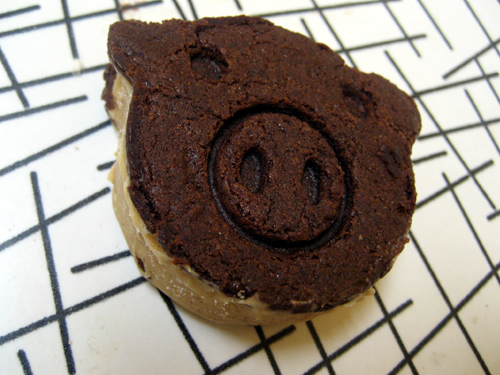
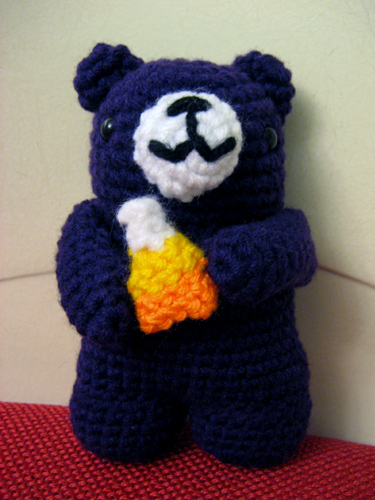
The candy corn will be rugged & not very glossy when cut, to get the proper shape & finish, you’ll have to shape each one yourself! If the ropes of color are well pressed together & even flattened a bit with a rolling pin, they can be easier to shape with a roll between your fingers. Of course they taste perfectly good without any shaping, but I’m an aesthetic eater, so I couldn’t leave them alone!

Please continue to let me know if you're making the recipes posted here & how they're working out for you. I’m expecting reports of fun & successful candy corn making parties in the near future; I love what people have sent me so far! In fact, the awesome crocheted candy corn bear is by none other than "My Sweet Vegan" author Hannah Kaminsky! Isn’t he adorable?!

It's still early, but Happy Halloween everyone!

I’ll be in New York City for the spooktastic day seeing a Martha Stewart show taping! If you’re in the NYC area and would like to grab a bite, dance all night, or just hang out, get in touch, I’ll be around through November 8th!

Thursday, October 4, 2007

Chocolate Peanut Butter Filled Whoopie Pies & Sweets for my Sweet (chocolate peanut butter, of course)!

Please head over to my new blog at TheUrbanHousewife.com, where you'll find this post & more!

As I've mentioned many times, I love to bake for others. In fact, nothing I make is for myself, it's always to share! I try to keep busy & attend events almost every weekend, so my baking is always for others & I like it that way. One such event was a board game night a few weeks back, of course I volunteered to make treats. A bit burnt out on cupcakes (gasp!), I scoured the internet for a fun treat to bring that was more exciting than cookies, but still individual servings. I happened upon the perfect item, Kittee's Chocolate Peanut Butter filled Whoopie Pies! I can't help but tinker with recipes, so my changes are noted with a star & listed as optional.

Chocolate Whoopie Pies
Ingredients:

2 cups all purpose unbleached flour
1 teaspoon baking soda
1/2 cup cocoa
dash of salt
1 cups granulated sugar
1/2 cup Spectrum Brand non-hydrogenated shortening
1/4 cup applesauce mixed with a 1/2 teaspoon of baking powder
1/2 cup soy milk
1/2 cup warm water
*1 teaspoon Instant Espresso Powder (optional)
*2 teaspoons semi-sweet chocolate, melted & cooled (optional)

Instructions:
Preheat the oven to 375F.

In a mixing bowl, combine flour, baking soda, cocoa, espresso powder, and salt; set aside. (I like to sift my dry ingredients together, but it's your call!)

In the bowl of an electric mixer, combine sugar, shortening, and applesauce/baking powder mixture & beat for about 2 minutes.

Add the dry ingredients, milk & water into the wet mixture & beat at medium speed for 2 to 3 minutes.

Add vanilla & melted chocolate and beat again until mixture is thoroughly blended, but do not over beat, it will be moderately thick.

Using a small ice cream scoop or large spoon, drop by rounded tablespoons onto a Silpat or un-greased non-stick cookie sheet leaving room for the pies to spread. Smooth out the tops of your scoops, as this will affect the aesthetic of your pies.

Bake for 10 to 12 minutes or until the center springs back when lightly pressed or a toothpick comes out clean. These are very cake like in texture, be careful not to over bake them.

Let them cool for a few minutes, then remove them from the cookie sheet to cool on wire racks. They need to cool completely before the peanut butter filling can be spread on.

Peanut Butter Filling
Ingredients:

1 tablespoon Earth Balance or other vegan margarine
1/4 cup creamy peanut butter
1 3/4 cups confectioners sugar
2 tablespoons soy milk

Instructions:
In a large bowl, beat together Earth Balance and peanut butter.

Add the confectioners' sugar and slowly add the soy milk, beating with an electric mixer at medium speed. Add more milk if needed, then beat at high speed until light and fluffy.

Assemble your Whoopie Pies!
Take one cookie & spread a layer of peanut butter filling in the center, not quite touching the ends, apply another cookie on top & you're golden! woo.

This yields around 16 whoopie pies, depending on the size of your ice cream scoop.

My Notes:
These were delicious & people instantly requested I make them again. The recipe I posted above is halved from the original since it yielded around 35 whoopie pies & I felt like I was assembling them for days! I added the instant espresso powder & melted chocolate to add depth & flavor, as I tend to find cocoa based recipes a bit bland. I noticed the photos of Kittee's pies almost look like french macarons! Mine were much flatter & spread more than I expected, but we're still lovely little fluffy little cakes of joy. Shortly after I made these, the hot ladies at Bake & Destroy Flickr pool started discussing & baking their own versions. Great minds think alike! By the way, Kittee's recipe site & Kittee's blog contain a wealth of information, do yourself a favor & check them out!


Awhile back Ryan & I celebrated another anniversary, 9 years of dating. While most people stop celebrating dating anniversaries once they're married, we thought 9 years was something worth a mention & used it as an excuse to get out of town for a weekend. On a photo shoot, someone had mentioned their friend gave her husband a gift called "Dessert of the Month" & every month he could pick any dessert he wanted & she would make it for him, no questions asked. For our dating anniversary, I decided Ryan should be given the gift of a dessert of his choice every month. The man loves anything peanut butter & chocolate, so his first choice was hardly a shock, Chocolate Peanut Butter Ice Cream Sandwiches. These were inspired by Celine, especially since I was given similar ice cream sandwich molds shortly after her post.

The cookies are straight from Celine's post with a bit of espresso powder added. For the filling, I used a previous recipe I've mentioned for Peanut Butter Gelato, but upped the peanut butter content, threw in a smidgen of agave nectar, & used half almond milk to make sure the ice cream would be nutty & rich! The ice cream was wonderful & we were happy to have some leftover from the sandwiches to cover in Ricemallow & melted chocolate! There was also spaces left between the animal cookie cutter shapes, so I made mini chocolate heart cookies to send with Ryan for work snacking. Ice cream sandwiches are fun to make & went over VERY well, I recommend making these, they keep well for a good amount of time in the freezer, individually wrapped. By the way, are animal shaped foods still vegan? hehe.

I'm pretty sure he's going to ask for something chocolate-peanut butter every month. While the rules stated I wouldn't object to his choices, I must admit I've tried to influence him by sending links & begging him not to request plain peanut butter cookies. I was hoping he'd GO BIG, but that doesn't look to be the case, as he wants peanut butter cups this month. *sigh*

By the way, I'll be working in Seattle next week.
I've been to some great places there, but I'm always looking for more recommendations on places to see, events to attend, bands to check out, & even people to dine with! Feel free to post a comment or get in touch!